A screen recording checklist helps a software team capture a tutorial cleanly the first time. The goal is simple: prepare the demo account, product state, screen settings, audio plan, retake path, review notes, and exports before anyone presses record.
Use this checklist for software tutorial videos, SaaS onboarding videos, customer training videos, software walkthrough videos, and help-center clips. If the project is still being scoped, start with the software tutorial video brief template. If the workflow is already approved, pair this checklist with the software tutorial video script template.
Screen Recording Checklist
Copy this checklist into the production notes before recording. A short checklist is enough if it catches the details that usually create re-records.
| Step | What to prepare | Why it matters |
|---|---|---|
| Viewer goal | Name the task the viewer should finish. | The recording should teach one useful job, not every nearby feature. |
| Demo account | Confirm login, role, permissions, subscription tier, and feature flags. | The take falls apart if a button, field, or menu is missing. |
| Sample data | Use realistic names, records, dates, files, and messages. | Realistic data makes the tutorial easier to understand and approve. |
| Privacy pass | Remove customer data, internal notes, browser history, bookmarks, and notifications. | Screen recordings often expose more than teams expect. |
| Capture settings | Set screen size, browser zoom, app theme, cursor style, and recording frame. | Consistent settings make the edit cleaner and the final video easier to read. |
| Audio plan | Decide whether audio is live narration, scratch VO, or recorded later. | The capture rhythm changes depending on how narration will be produced. |
| Retake path | Know how to reset the workflow before each take. | Repeatable start states save time when a click, load, or line needs another pass. |
| Review package | List the people who check product accuracy, language, brand, and final approval. | Good review notes prevent one person's feedback from undoing another person's approval. |
| Exports | Name the needed files, captions, transcript, thumbnail frame, and embed destinations. | Delivery choices affect framing, pacing, captions, and file naming. |

Prepare the Demo State
The best screen recordings usually start with a boring setup pass. Log in as the right user, confirm the product state, remove anything private, and make sure every record or file used in the video is ready.
- Use a stable demo account, not a personal account.
- Confirm the same user role the viewer will have.
- Create sample records with clear names and realistic values.
- Close unrelated tabs, apps, notifications, and menu bar distractions.
- Check that the start state can be reset for retakes.
Set the Recording Frame
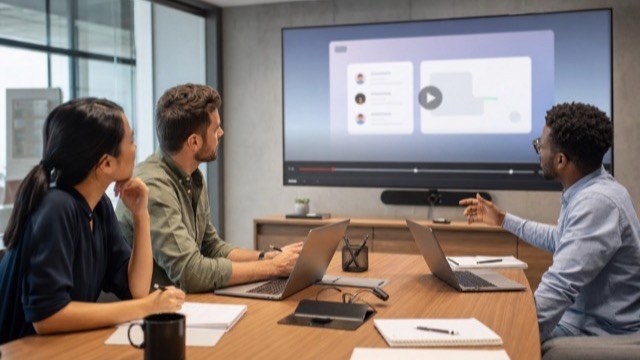
Decide where the video will be watched before choosing the recording frame. A tutorial embedded in a help center may need different spacing than a sales follow-up clip or a full YouTube tutorial.
Most software tutorials benefit from a consistent browser size, readable zoom level, visible cursor, and enough pause time for callouts and captions. If a field is important, the viewer should not have to hunt for it.

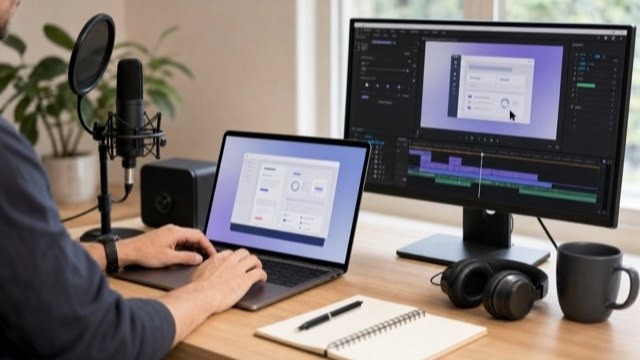
Plan Audio Before Capture
Screen capture and voiceover do not always need to happen at the same time. For polished customer-facing videos, recording clean voiceover after capture often gives the editor more control over pacing and mistakes.
Before recording, decide whether the capture needs live narration, scratch narration for timing, or silent recording with a final voiceover pass later. Also note product terms, pronunciation, acronyms, and phrases the team wants to avoid.
Capture for the Edit
The recording should give the edit room to breathe. Avoid rushing from click to click. Pause on important screens, let loading states finish, and capture the completed state long enough for the viewer to understand what happened.
- Record a clean start and clean end for each workflow.
- Leave a beat before and after important clicks.
- Repeat short sections instead of trying to fix a broken long take.
- Capture alternate states only when they help the lesson.
- Keep the cursor movement intentional and easy to follow.
Review the Right Things
A rough cut should be reviewed for product accuracy and viewer clarity first. Brand polish, music, captions, thumbnail frames, and export details are easier to finalize after the workflow is approved.
- Product review: check steps, labels, roles, permissions, and end state.
- Support or customer success review: check whether the explanation matches real user questions.
- Language review: check voiceover, terms, captions, and pronunciation.
- Final review: check file exports, captions, thumbnail, links, and embed destination.
Export and Versioning Notes
Final files should match how the tutorial will be used. A help-center video, onboarding email, customer success resource, YouTube upload, LMS lesson, and release-note clip may all need different versions.
- Full horizontal video.
- Short cutdown for email, release notes, or sales follow-up.
- Thumbnail or poster frame.
- Transcript and SRT captions.
- Localized captions, localized voiceover, or dubbed versions if the tutorial needs to serve global users.
Examples
These HiLo Media examples show why capture prep changes from project to project:
- TreatAnyone Software Tutorial and Onboarding Video shows how an onboarding workflow needs a clear viewer path and clean product state.
- CoStar Consolidated Listings Software Tutorial Video shows how B2B tutorial content depends on practical workflow clarity.
- Banktivity 6 Tags Screencast Tutorial Video shows a focused feature tutorial built around one specific user task.
Related Planning Guides
For broader planning, start with the software tutorial video brief template and the software tutorial video production checklist. For narration and scene notes, use the software tutorial video script template. For examples and use cases, review the software tutorial video examples and the SaaS onboarding video guide.
If the same video needs translated captions, localized voiceover, or dubbed on-camera content, include those requirements before final export. The video localization guide explains the practical versioning path.
Screen Recording FAQ
What should be on a screen recording checklist?
A screen recording checklist should cover the viewer goal, demo account, sample data, privacy pass, capture settings, audio plan, retake path, review package, captions, and final exports.
What screen size should a software tutorial use?
The screen size should match the final viewing context. Help-center videos, YouTube tutorials, LMS lessons, and sales clips may need different framing, but the interface should stay readable without relying on constant zooms.
Should screen recordings use live narration?
Live narration can work for quick internal videos, but polished customer-facing tutorials often use scratch narration during capture and clean voiceover after the edit is built.
How do you avoid re-recording software tutorials?
Prepare the demo state, confirm permissions, use safe sample data, reset the workflow before each take, pause on important screens, and get product accuracy approved before final polish.
What files should a software training video include?
Common deliverables include the final video, transcript, SRT captions, thumbnail or poster frame, shorter cutdowns, and localized caption or voiceover files when needed.