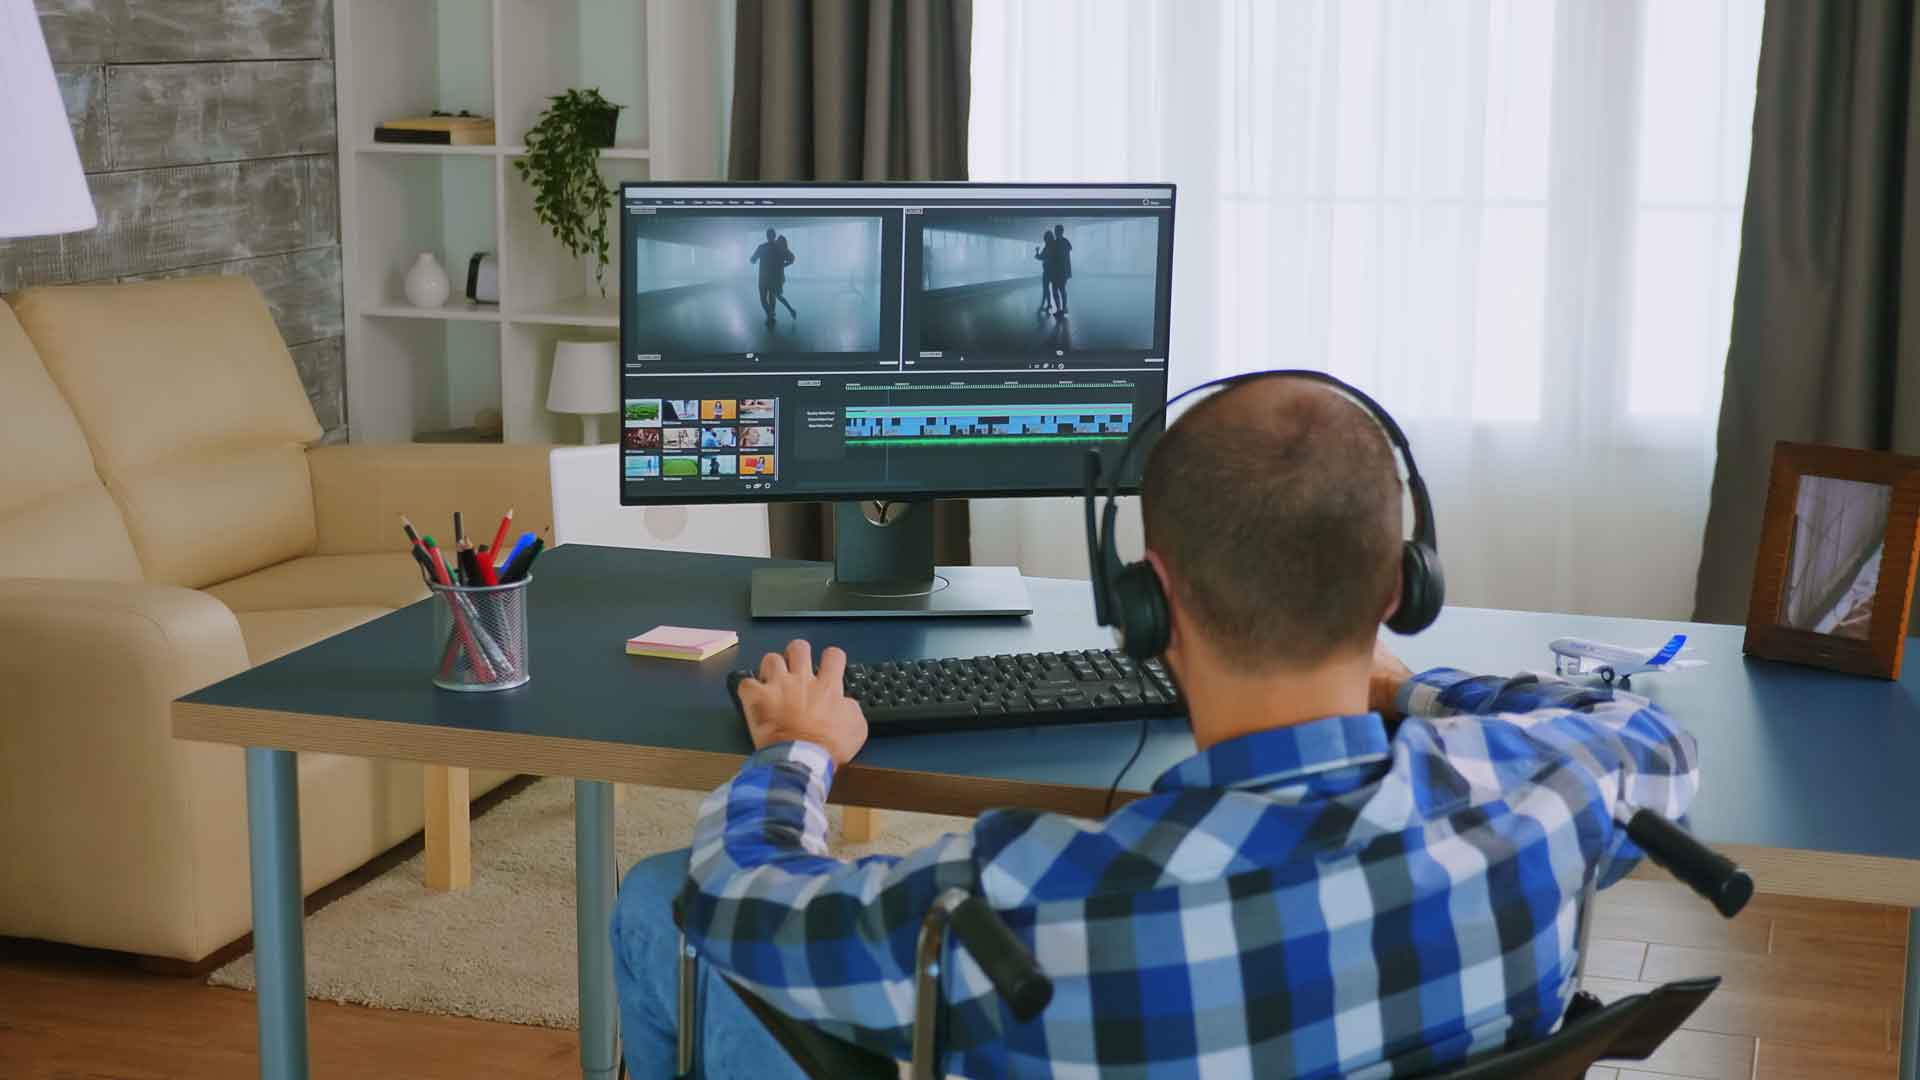
We've all seen them, software companies often produce tutorial video content in-house and release it to their YouTube channel and on their website. These videos are lacking in a certain polish and professionalism, and that reflects poorly on the brand. And let's face it, often the content is not very exciting and doesn't really hold our attention.
Our team of experienced video producers has compiled this list of what sets apart a professional software tutorial video from a homemade-looking one, with tips and tricks you can use, too!
Good Audio Quality
Not everyone has access to a proper recording booth and a $3000 microphone and gear. But with a bit of preparation, you can immensely improve the sound of your voice recording.
Some of the worst problems include: room noise (air conditioning, computer noise, etc) and echo (the hollow sound of your voice reflecting off walls and hard surfaces).
To combat room noise, turn off anything that is making a steady hum or sound. You'd be surprised how loud computers and hard drives are. Turn off anything you don't need to create your recording. If the air conditioner is on, turn it off for a few minutes and break a sweat for good audio quality.
To minimize echo, cover as many hard surfaces as you can. Or simply move to a room with softer surroundings. On vacations, when I'm away from my voice booth, you can follow a mic cable to find me in a closet surrounded by clothing enjoying a dead, echo-free room. Using the built-in microphone on your laptop is generally not a good choice.
Buying even an inexpensive USB mic will up the quality of your voice exponentially. Read the reviews and buy the best mic for your budget. If none of the above options are available, do the old on-the-road radio producer trick and record under a heavy blanket. This will deaden much of the room tone and echo.
Good Delivery
There is a huge difference between improvised or stream-of-consciousness explanations and tightly-scripted content.
We recommend scripting what you'd like to say and recording the voice separately from when you're creating the tutorial content. This combats rambling, pauses, "um-s" and makes for an immensely more listenable presentation.
Take some time to listen to professional voiceover artists to get the gist of how to read content naturally. Try not to "sound like you're reading".
A good voiceover artist sounds natural, and adds subtle stresses on words and almost musical "ups and downs" to the flow of the sentences.
Getting it right over a few takes plus some good editing (see below) will make for a more professional-sounding recording.
Screen Recording
There are generally OS built-in or free ways to screen record your screen. We recommend recording at a high quality and at a high resolution so the video looks good and you can zoom in without losing quality.
Splurge for a program that gives you additional editing and graphics capabilities like Screenflow.
Further tips include: create a clean, neutral desktop if it appears in the video, make your mouse movements smooth and graceful (do them a few times if you need to get a good take), and eliminate personal information from your screen caps.
Editing for Content
This could be one of the most important steps.
Edit your audio and video like you would a movie or TV show instead of showing your screen captures real-time. Make cuts and use different wide and tight shots to make time pass more quickly and line up with your pre-recorded voiceover. You can even use freeze frames and speed changes to make everything go smoothly.
Plus edit out mistakes or strange pauses. And definitely edit out any personal information that might have popped up in the video.
As for apps to use, some apps have editing built right in. We prefer to move the screen captures to a professional editing environment like Adobe Premiere Pro or Final Cut Pro X.
Timing
Related to Editing for Content is timing . . . research has shown that people prefer smaller, bite-size videos. Try to keep your content under 5 minutes . . . 1-2 minutes is even better.
If you have a lot of content to cover, break it up into separate videos and people will watch more.
Once your content is on a delivery network like YouTube, you can look at the metrics and see if viewers are watching your videos all the way through or if they're dropping off.
Supporting Graphics
Our team creates professional 2D and 3D graphics in applications like Adobe After Effects and Cinema 4D. But you don't need a degree in visual effects to have supporting graphics in your video.
Search for stock video and graphics sites that have paid or free content.
Or simply use some of the excellent graphics (openers, closers, lower thirds, bullet points, etc) built into your editing environment, especially if you're using Premiere Pro or Final Cut Pro X.
Stock Music
We like to use appropriate stock music to help make the video content more interesting.
For tutorial content we tend to choose music that doesn't get in the way too much.
Pro tip: if your content is long, change up the music track 2-3 times at different chapters or points in the video and it will be less boring for the viewer.
There are tons of affordable stock music sites on the internet.
YouTube even has built-in music you can add in to the video after you upload it.
Music also helps move the story along by smoothing out spaces where you're not talking. Plus it helps with the overall perceived professionalism of the video.
So those were the 7 things you can work on to make your software tutorial video content more professional. Use our tips to increase engagement, branding value, and educational value.
